Make a sticker sheet with cut lines
Choose a picture and fill a Letter or A4 sheet with it, each sticker on its own cut line.
 Sample
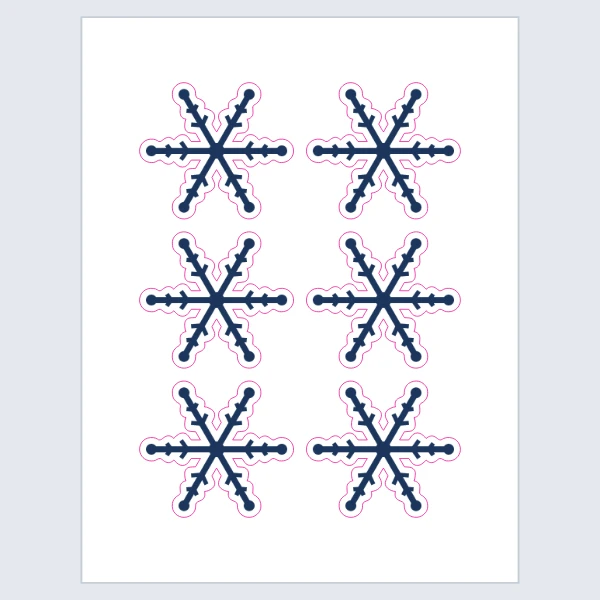
How to Use
Choose a PNG with a see-through background, or a logo on a plain background. It becomes one sticker first: the outline grows into a white border, and the border's edge is the cut line. Pick the border, then Fill a Letter sheet repeats the sticker in rows. Every copy has its own closed cut line, 1 pt on a spot color named CutContour, and the white runs 2 mm past it. Change the width or the count and the sheet lays itself out again.
- Click Choose a picture and pick a PNG with a see-through background, or a logo or drawing on a plain background. JPG, WebP and GIF work too.
- The picture opens as one sticker with a white border and a magenta cut line. Pick Narrow, Medium or Wide, then click Fill a Letter sheet.
- In the card, pick Letter or A4, then type a Width in inches or a number of Stickers. Leave the count alone to fill the sheet: the snowflake in the picture above fits 6 on Letter at 2.99 in.
- If you ask for more than fit, the card marks the paper's edge and shades what falls off it. Click Shrink to …: it picks the largest width at which every row is full (10 snowflakes: 2.14 in, 2 × 5).
- Click Save as cut PDF. Save as PDF opens with Trim Marks off, as sticker printers ask; click Save PDF. Export PNG... is for a picture of the sheet.
| Sheet | Letter or A4; 0.25 in between cut lines and from the sheet's edge |
|---|---|
| Cut line | 1 pt, one closed path per sticker, on the CutContour spot color; white 2 mm past it |
| Saves | PDF with the cut lines as a separate ink; PNG |
| Where it runs | In your browser; the picture is not uploaded, no account |
The outline comes from the picture's transparency or a plain background. A photo on a busy background gets a border round its whole rectangle, so remove the background first. A sheet holds one design, repeated; the card has no way to mix several. To change the border once the sheet is filled, click Change the border under the buttons: the sticker card comes back, and the sheet fills again at the same width and count. Spot color names differ from shop to shop, and the card doesn't know which one yours uses.
- Will my print shop find the cut lines?
- In the PDF the cut lines are a separate ink named CutContour. Roland's VersaWorks manual asks for exactly that name and says the case matters; it also says a line inside a bitmap is never read as a cut line, which is why a PNG won't do. StickerApp asks for a spot color named "die cut" instead. If your shop names another, double-click the CutContour swatch in the Swatches panel and change Swatch Name before you save.
- How far apart are the stickers?
- 0.25 in (about 6 mm) between cut lines and from the sheet's edge. StickerApp's sheet layout requirements ask for at least 2 mm for both, and for the white to run 2 mm past each cut line, so a cut that wanders a little still lands on white.
- How small can a sticker be?
- StickerApp's smallest is 1 × 1 cm. Type a smaller Width and the card says so and offers Make them 1 cm.
- I have no picture yet. Can I try it?
- Click Open Sample › under the button. A Letter sheet of eight Hello stickers, 3 in wide, opens; click Edit the text, type on the first one, and the other seven follow.
RelatedMake a die-cut stickerTurn a picture into a cut fileCheck a PDF before you send it to print